- From your Admin Dashboard, navigate to the Settings menu and select Groups & Portals.
DO NOT DISTRIBUTE
This article is for Cadmium employees and contractors ONLY and should not be distributed.
The Group Portals feature allows you to easily create and manage branded group spaces within your Elevate LMS site. These groups provide organizations, teams, or cohorts with specialized access to curated content, reporting, and communications.
Creating a Group

- Select Add Group.

- Enter the following information: Name, Subdomain, Description, Limit Group Size, and Allow Search Engine Indexing. Additional information about each field is provided below. Select "Create" to save the basic configuration of your group.

- Name: This is the name the group that will be displayed for the group and visible to group members.
- Subdomain: A unique URL path for the group (e.g., No Elevate Site is Set Up For This Hostname: groupname.yourorganization.elevate.gocadmium.com ).
- Description: This is a short summary which defines the purpose or audience of the group. This field is optional and will only be displayed to administrators and group managers.
- Limit Group Size: To limit the number of members a group manager can add to a group select this option. Once selected a Maximum Members field will display to set the maximum number of members a group manager can add.
- Allow Search Engine Indexing: When allowed is selected, this option sets your Group site robots.txt file to 'Allow' search engines, such as Google to index the contents of your pages. If disallow is selected, it sets the robots.txt to 'Disallow'. Professional search engines honor the robots.txt file, although it does not in any way actually block indexing.
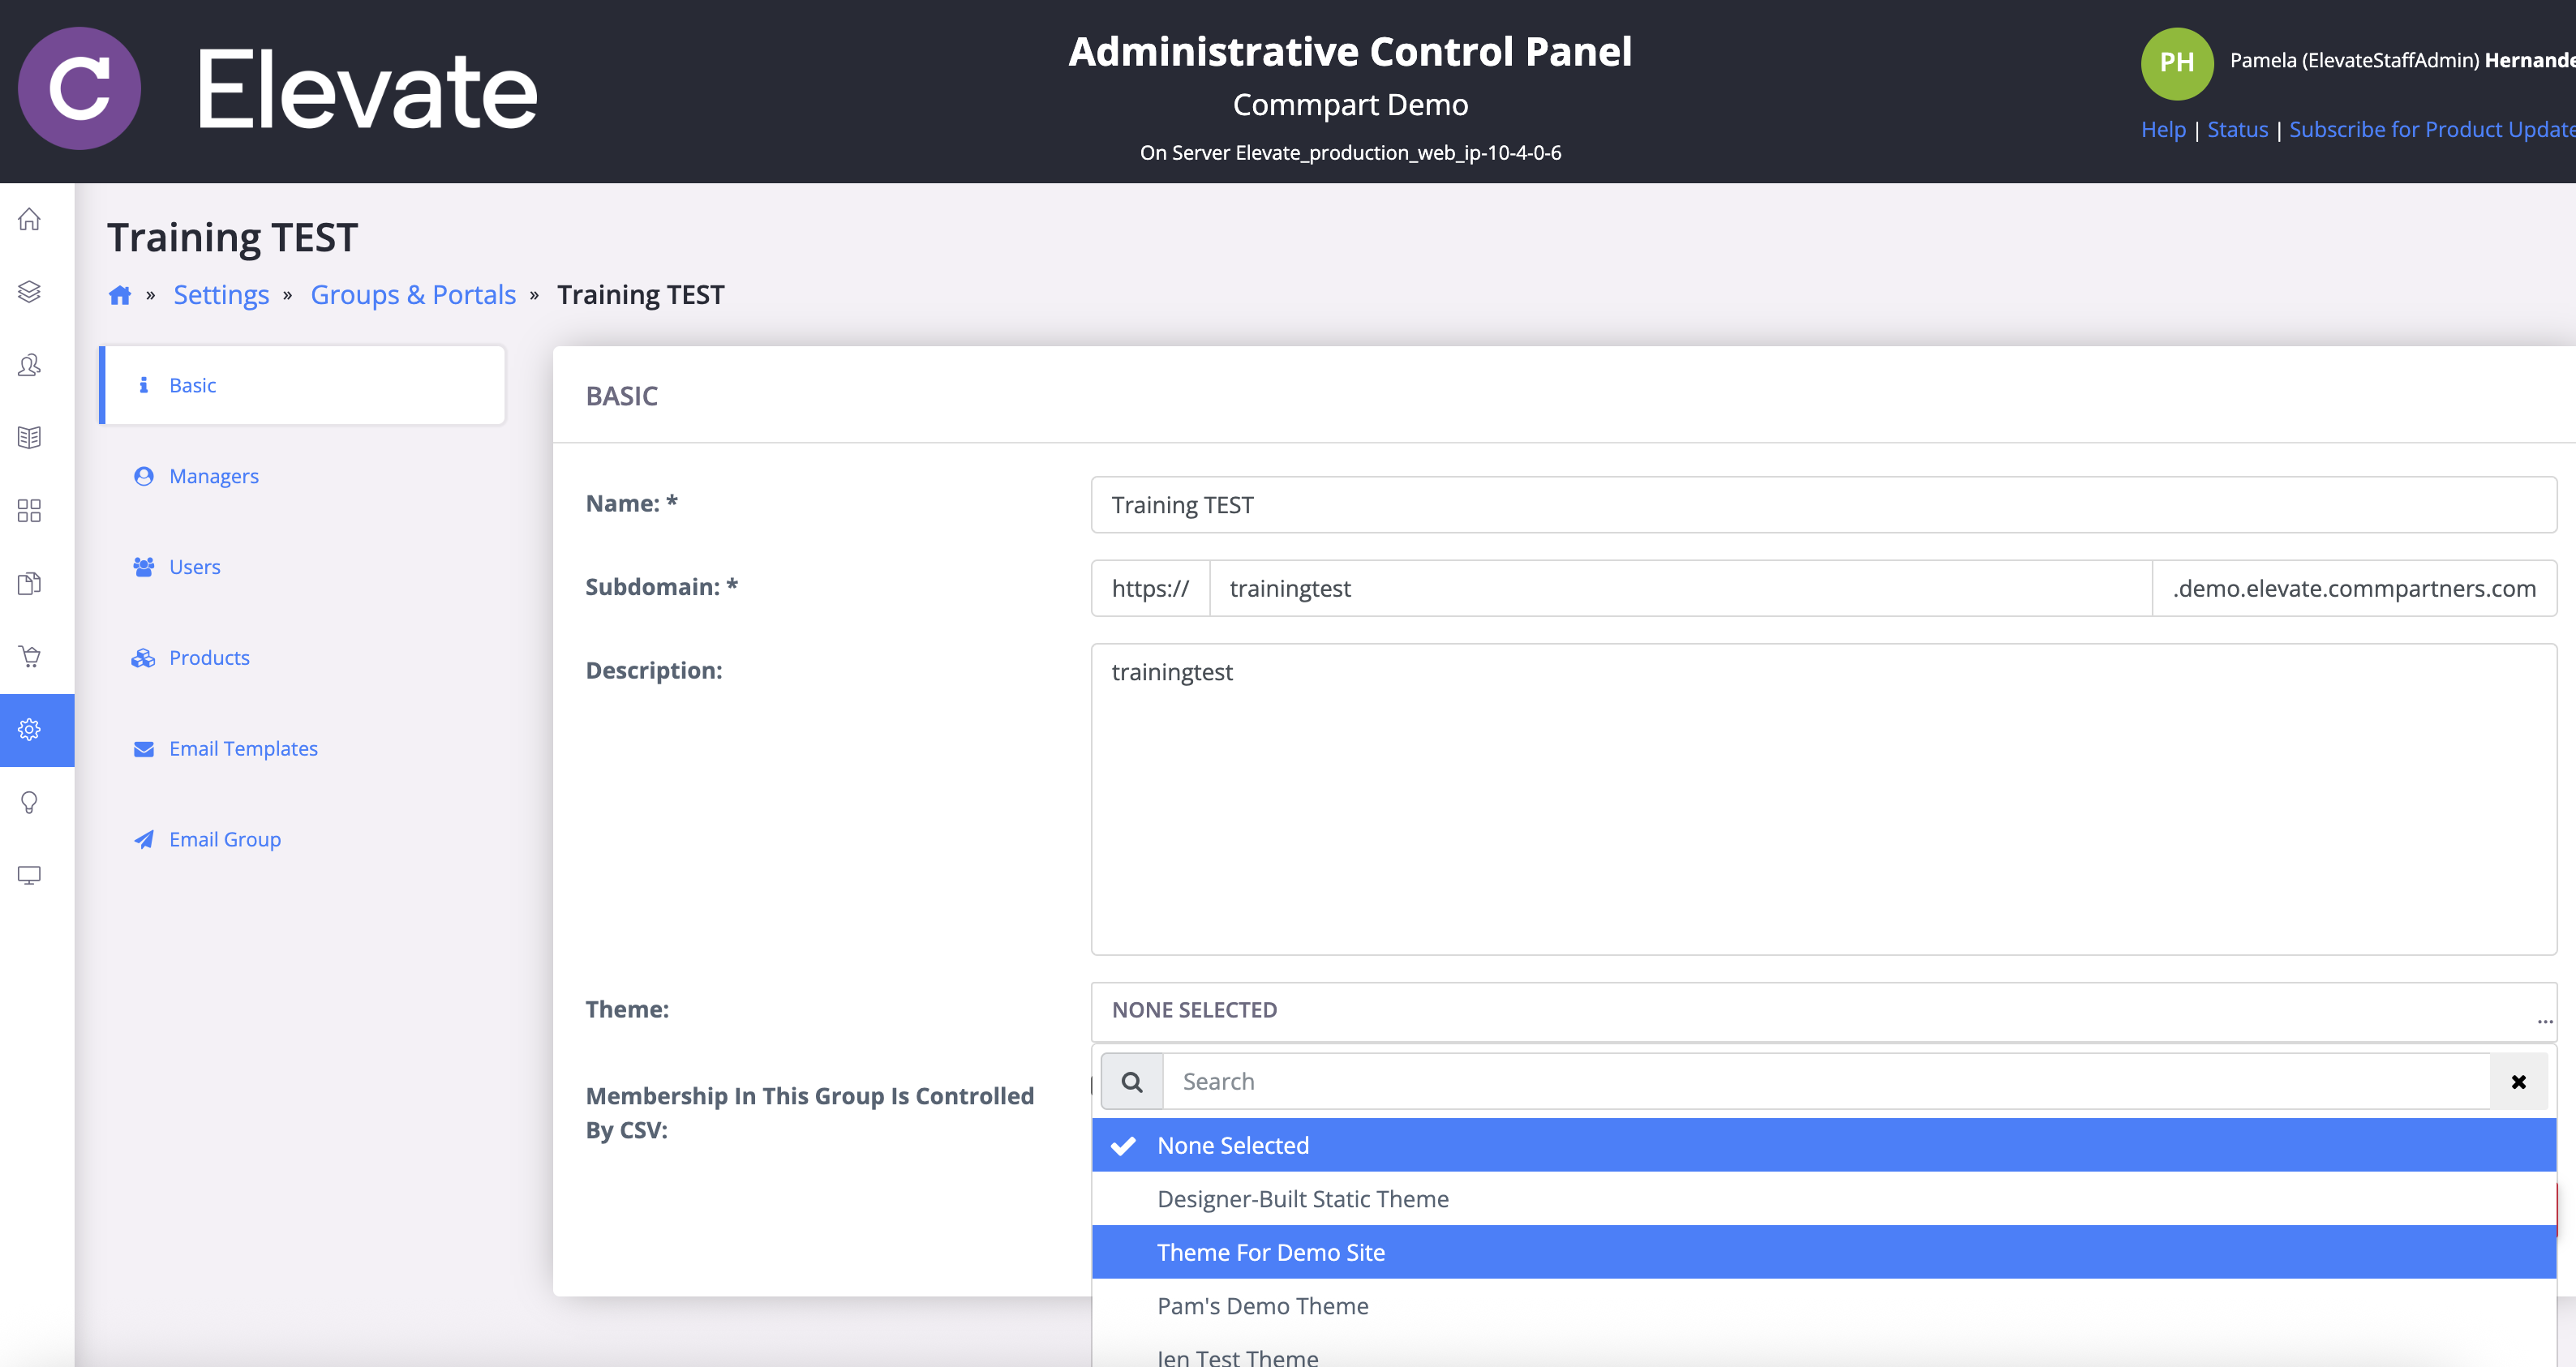
Assign a Theme to the Group
- After the group is created, optionally assign a theme to the group using the Theme dropdown on the Basic tab of the Group editor. This will allow each group to have their own custom branding. For more information on how to create a theme, please view the Create or Edit a Theme article.
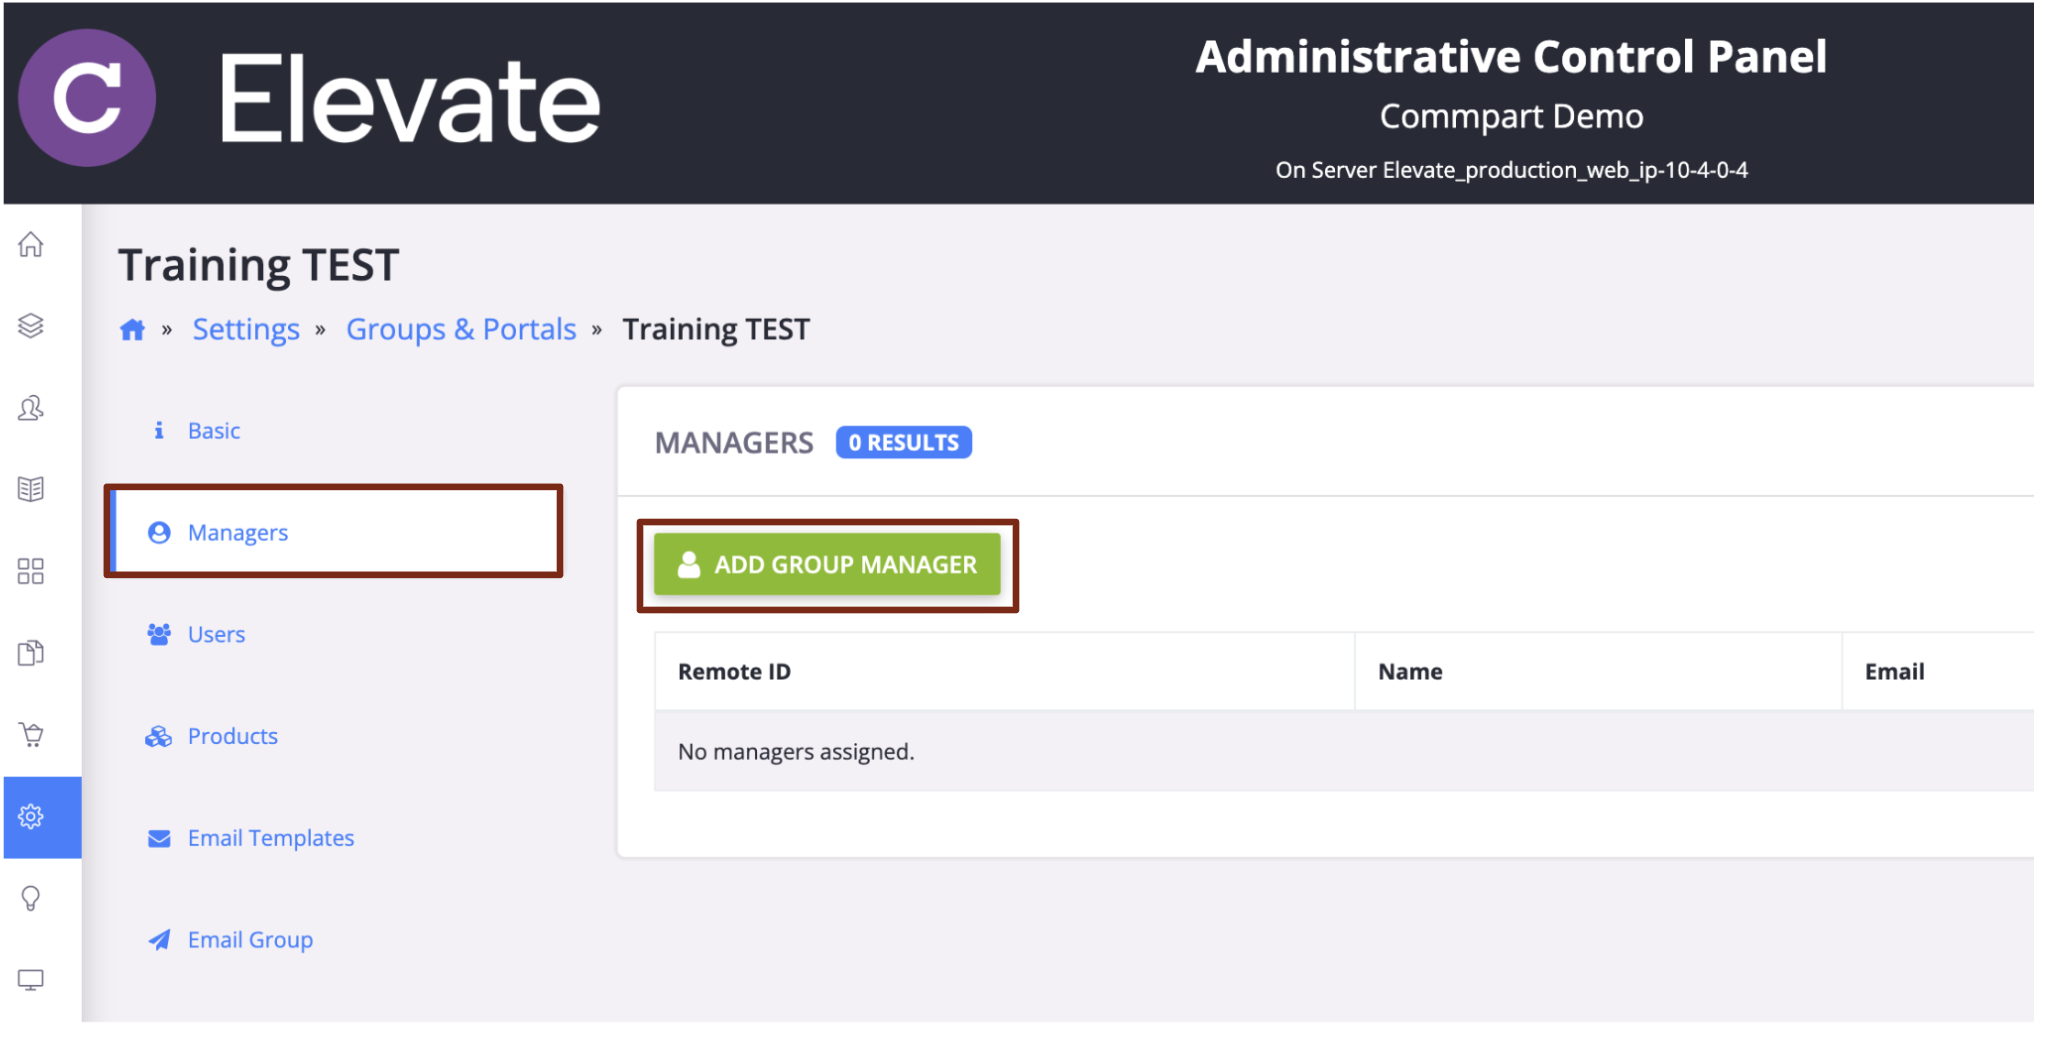
Assign a Group Manager
- Add one or more Group Managers who will be responsible for managing users, enrollments, and reporting with the group. For more information on how to assign a group manager, please view the "Assigning a Group Manager" article.
Last modified Aug 05, 2025
Was this article helpful?
That’s Great!
Thank you for your feedback
Sorry! We couldn't be helpful
Thank you for your feedback
Feedback sent
We appreciate your effort and will try to fix the article